


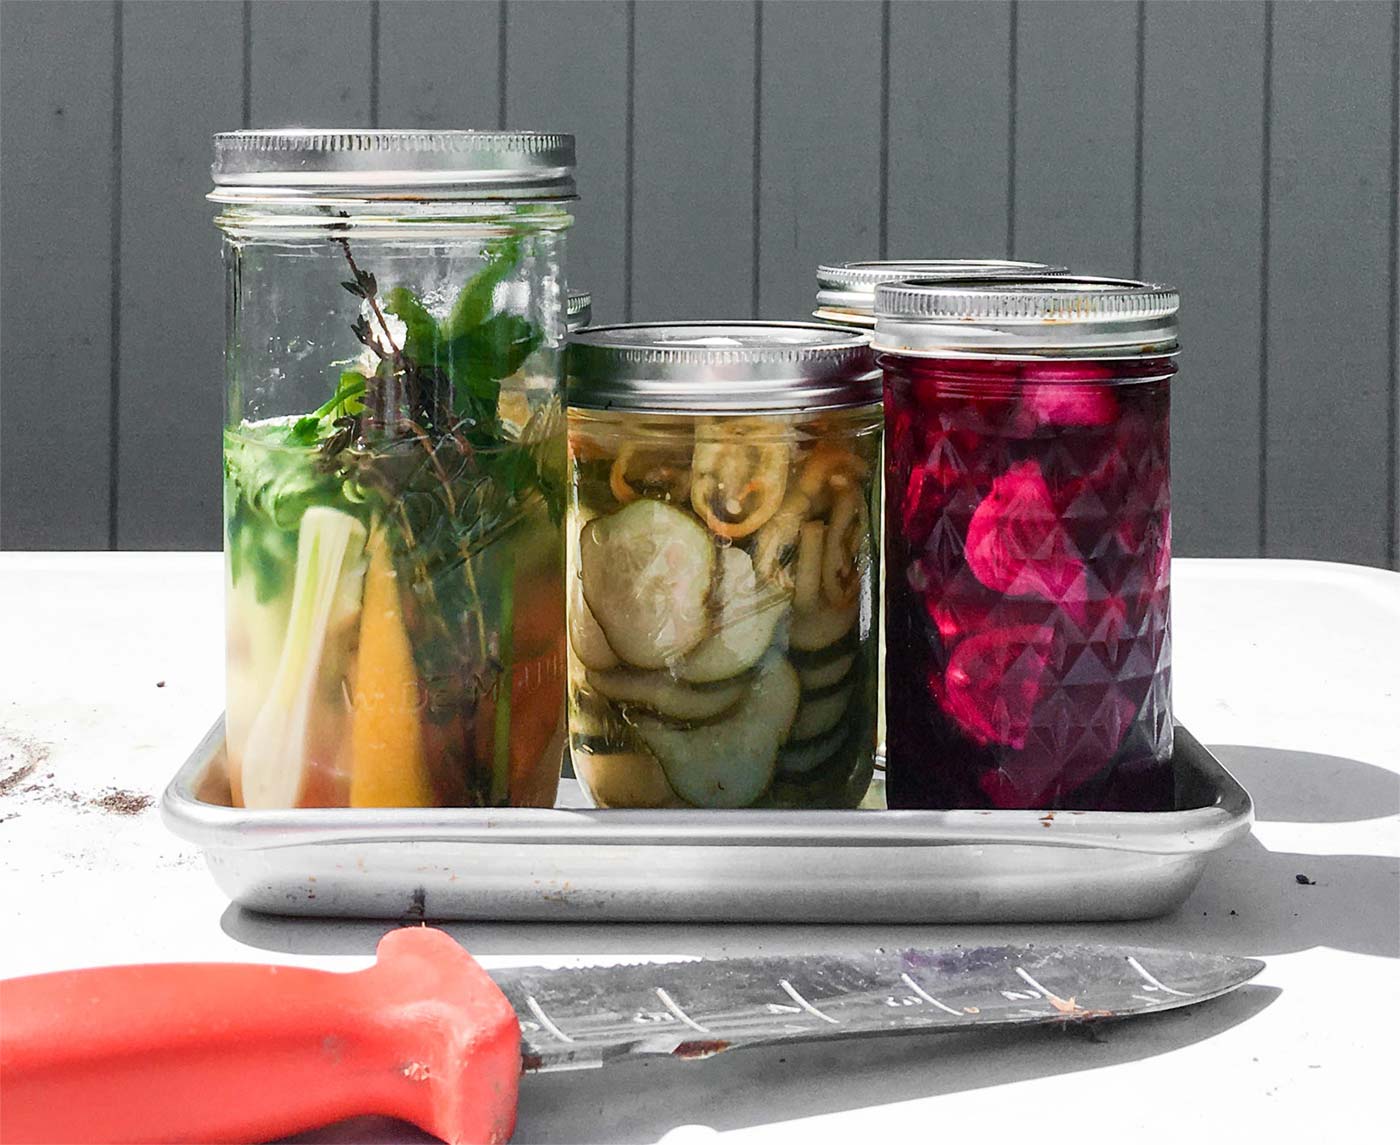
Lacto-Fermented Vegetables
Extend the life of vegetables and keep that fresh, just-picked crunch. Store this brine solution in the refrigerator and you can keep almost anything that will have a crisp crunch for weeks

The garden is still producing, and now’s the ideal time to turn some of the bounty into things that we can enjoy during the winter months. During the summer our vegetable garden—along with an abundance from other local farms—keeps us well supplied in fruits and vegetables; the focus is shifting now to “putting up” the garden. Most preservation methods are remarkably easy: freezing, canning and pickling are the three most common techniques, and jam-making, fermenting and dehydrating are worth exploring, too. There are some basics to learn, but all in all anyone can do it. I’m here to encourage you to try some standard food preservation techniques; they really are quite gratifying, especially if you grew the produce yourself.
Technology means that we can FREEZE just about anything these days. Our great grandmothers did not have this luxury.
Here’s the most important thing to understand: If you choose to freeze your overflow of vegetables from the garden you need to blanch them first. Blanching is a quick cook method that stops enzyme activity in the vegetable so it will stop ripening. Once a vegetable is harvested, it produces enzymes that continue to push it past peak; blanching stops this. Most vegetables can be dropped into a pot of boiling water for 2 minutes to arrest the enzyme activity; then stop the cooking process by plunging the vegetables into an ice bath for 2 minutes; drain well and pat dry with a towel and package your servings in airtight containers for the freezer.
For CANNING, I finally got a pressure cooker a few years ago after getting over my fear of exploding lids (childhood stories from my mom and her sisters told of people being burned). So I can do more than process by the hot water bath method. The hot water bath is still preferred, though. A large pot of simmering water will kill bacteria and seal jars, but this is not suitable for all vegetables (low-acid vegetables like beans and beets must be pressure-canned).
Tomatoes are the easiest to can. Their natural acidity means that all you have to do is cook them a little and pack them in sterile jars, add a teaspoon of salt, seal and process in a hot water bath for about 15 minutes. You can peel and seed, or not. Peeling a tomato involves scalding in boiling water until the skin cracks; ladle the tomatoes out of water as they crack and let them cool a bit so you can handle them. The skin should just slip off. I then rough chop them, cook them down a bit with some salt and then pack them in jars, and into the hot water bath they go.

PICKLING uses vinegar to add the acidity needed for preservation. Cucumbers, peppers, green beans, beets, onions, carrots and any combination thereof can be pickled with a vinegar, sugar and spice syrup. Recipes abound representing variations on the theme. A basic pickle recipe calls for about 8 ripe cucumbers, ½ cup of salt, 1½ cups of sugar, 3½ cups of vinegar, and a teaspoon each of celery seed, mustard seed and turmeric. Soak the cucumber slices in salted ice water for at least 4 hours; you can either pack the soaked cucumbers in jars or cook them first for a couple of minutes in vinegar before filling the jars. Top the jars off with syrup made from your vinegar, sugar and spices. The more you reduce the syrup, the sweeter the pickles will be. Once the jars are packed and the syrup is added, seal the sterilized jars and place in a hot water bath (at a low simmer with about 2 inches of water covering the jars) for about 15 minutes. Pretty easy, yes!
MAKING JAM is even easier. Fruit, sugar and pectin are all you need. I just follow the directions on the pectin package and I have turned blueberries, blackberries and raspberries into enough jam to get us through until next May when the blueberries ripen again.
FERMENTATION has gained widespread popularity, too, and it is not just about turning cabbage into sauerkraut. The process of lacto-fermentation converts sugars in the vegetable into lactic acid. This quickly creates an acidic environment where bad bacteria cannot grow. Refrigeration after the desired ferment is achieved slows the process. Fermentation expert Sandor Katz explains, “Fermentation pre-digests foods, making nutrients more bioavailable, and in many cases, fermentation generates additional nutrients or removes anti-nutrients or toxins. Ferments with live lactic acid-producing bacteria intact are especially supportive of digestive health, immune function, and general wellbeing.” Basically, the sugar and starch in your vegetable turn to lactic acid as the beneficial microorganisms feed on the ferment. Indigenous microorganisms initiate fermentation. (I am reminded of my sourdough starter here.)
Salt is another component of fermenting vegetables. Salt draws the liquid out of the vegetable creating brine that seals out oxygen. Oxygen is the enemy of this type of fermentation. The basic technique calls for mincing your vegetables into small pieces. The more surface area exposed, the more juice is drawn from the vegetables.
For example, transfer minced mixed peppers (I like combining hot and sweet varieties) to a mixing bowl; add sea salt and macerate the mixture with a wooden spoon. The salt pulls the natural juices from the vegetables, promotes a crisper texture to the ferment, gives the salt-tolerant lactic acid bacteria a competitive advantage, and slows fermentation—which, in turn, extends shelf life.
Once your mixture has drawn out enough moisture, pour the mixture into a clean jar, pack it down firmly so that everything is submerged in liquid (you can add some non-chlorinated water to cover if necessary and use a weight or wadded up piece of parchment paper to keep submerged). Loosely seal the cap so that the carbon dioxide that the fermentation process produces can escape the jar. Seeing bubbles in the jar is a good thing!
Finally, DEHYDRATING fruits and vegetables can be done with a dehydrator—or in more creative ways like arranging thinly sliced tomatoes on a rimmed baking sheet and putting it on the dashboard of your vehicle parked in the sun. The quintessential sundried tomato! Dried fruit in your oatmeal or rehydrated tomatoes in your winter pasta bowl are rewarding ways to enjoy the preserved harvest.
If you want to learn to “put up” food, then I recommend picking up an old canning book at the flea market or request the information from your County Extension service. It really makes sense to use these methods to extend the usefulness—and deliciousness—of the garden into the winter months.
A quick guide to pH levels in vegetables, low to high (a lower number means more acidic); foods with a pH of 4.6 or below can safely be preserved using the water bath canning method:
Tomatoes 4.3 – 4.9
Asparagus (strained) 4.80 – 5.09
Cucumbers 5.12 – 5.78
Cabbage 5.20 – 6.80
Beets 5.30 – 6.60
Beans 5.60 – 6.50
Squash (summer or winter): 5.79 – 6.00
Carrots 5.88 – 6.40
Corn 5.90 – 7.30
Copyright ©2025 Edible Indy. All rights reserved |Edible Indy Foundation