


Homemade Charcoal
Make your own charcoal! Follow this simple recipe and video to cook up your own charcoal with Edible Indy!

With just a few ingredients and an afternoon you can truly cook from scratch with your own homemade charcoal.
So why would anyone want to make their own charcoal you ask? For one thing, good hardwood lump burns hotter and cleaner than briquettes and is much easier to light. You also know where it came from, what it contains and what was done to it en route.
What You’ll Need
Source of fire: I use a back yard fire pit. A propane heater or even a grill could also be used.
Empty metal paint can: It’s a good idea to make sure the paint can is cleaned of paints that can give off toxic fumes. Poke or drill three holes in the lid. These holes should be about an eighth of an inch in diameter.
Wood: Different types of wood all work for different uses. Hard woods such as oak and hickory are better for heating and blacksmithing, while soft woods, such as pine and willow are better for making gunpowder. Experiment with different types of wood to suit your purpose.
Getting Started
When building the fire, wait and make sure that it will maintain a steady heat for at least four to five hours. I like to have my fire going for an hour or two before I start cooking the charcoal. This gives me a nice steady coal bed to cook over and a nice break to enjoy some sun and a brew.
Propane already gives a steady heat from the start, so no need to preheat.
Once the fire situation is in order, fill the can with your choice of wood. Try to use uniform pieces, which will give a more consistent end product. If using a variety of sizes, line the can with larger pieces, and place the smaller ones in the center. It’s also helpful to use dry or seasoned wood.
Place the can tilted on its corner over an even heat over the half-burnt logs near the center of the fire with the holes facing up.
The Waiting Game
At this point I like to relax a bit with another brew and enjoy the fire. This part takes a few hours. Turn the can over once or twice over throughout making sure that the heat stays hot and even, but not blazing.
As the wood heats, steam and gasses escape through the holes in the lid. The goal is to cook out everything but the carbon. Cooking the wood while starving it of oxygen is the retort method of making charcoal.
At first, the steam escaping will appear white. As the steam darkens, keep a closer eye on it. The darker gasses show that the essential oils are burning off. These gasses are flammable and will eventually ignite, making three small torches out of the holes in the lid.
This means that it is time to take it off the fire.
PLEASE NOTE: Do Not take off the lid at this point! Simply place the extremely hot can holes facing down in a safe cool place. Introducing oxygen to the coal at this point would cause it to burn up immediately, leaving you with ashes.
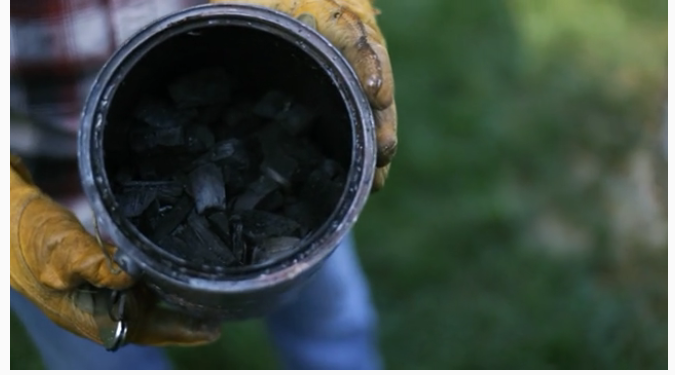
Wait at least a few hours for everything to cool completely before revealing your homemade charcoal. And lastly, enjoy!
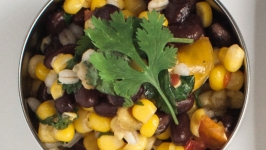
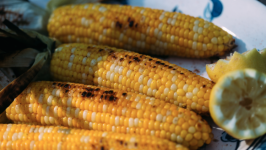
Don’t know what to make first with your all-natural charcoal pieces? Check out this recipe for Luke’s Cajun Corn.

Make your own charcoal! Follow this simple recipe and video to cook up your own charcoal with Edible Indy!
Copyright ©2025 Edible Indy. All rights reserved |Edible Indy Foundation